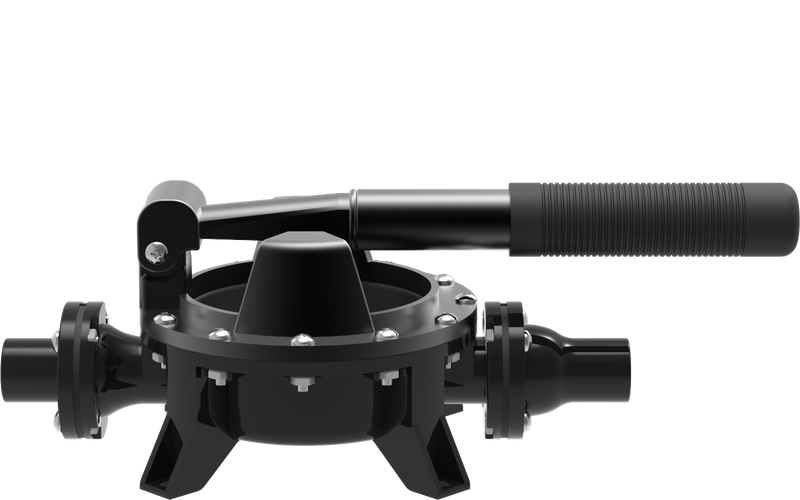
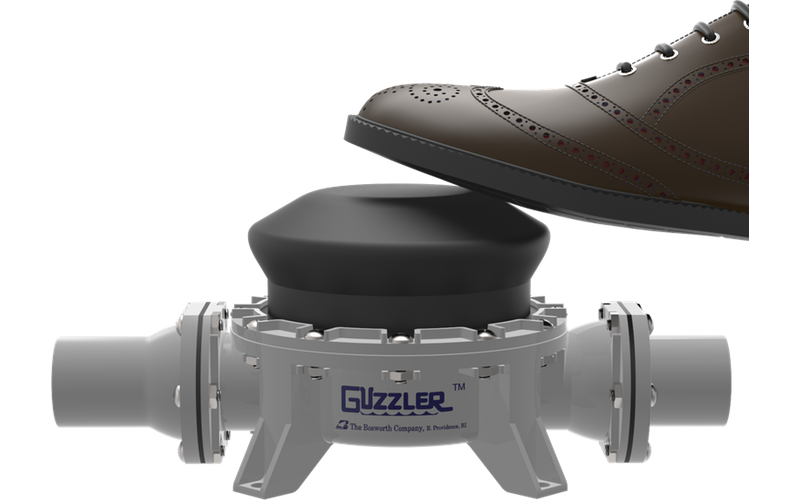
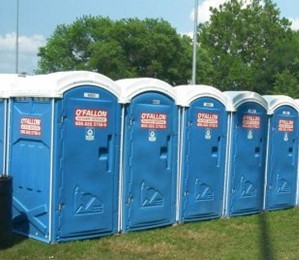
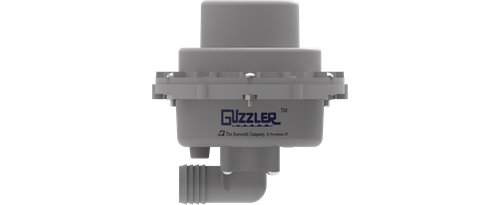
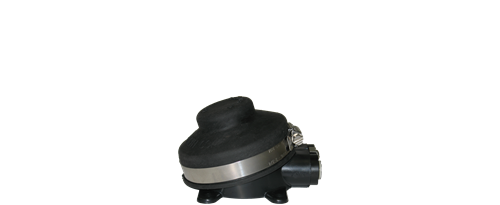
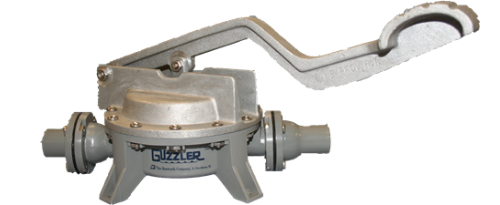
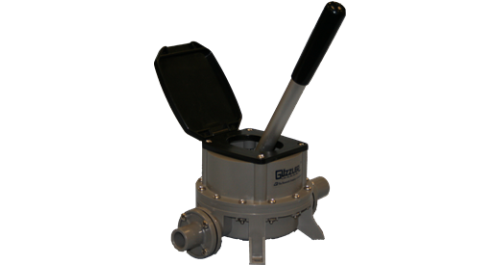
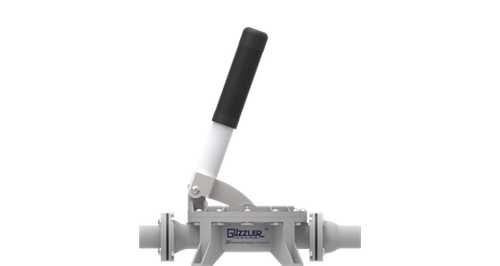
Bosworth foot and hand-operated pumps have found application in the portable sanitation industry for flushable toilets in port-a-johns. Guzzler foot pumps are available with foot-button activation as well as foot-lever activation. Foot button pumps come with an optional protective rubber boot. When equipped with standard weight springs, these pumps easily draw water from a holding tank to pump through the toilet during the toilet flush operation. Some portable toilets also use Bosworth’s flush-mounted hand pump for toilet flush activation. This hand pump can be mounted below a surface or behind a wall, and features easy operation via a rugged, aluminum handle.
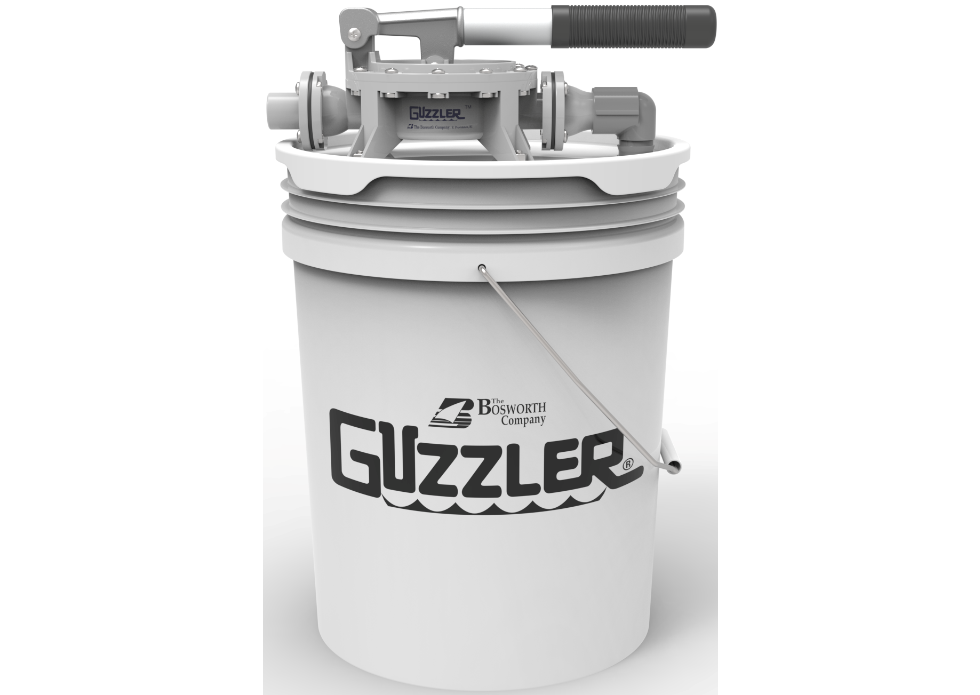
Bosworth also offers the Guzzler "Junior" foot pump for use in portable handwash stations. This pump is designed for "flooded-inlet" applications and delivers 2.8 oz of water per stroke.
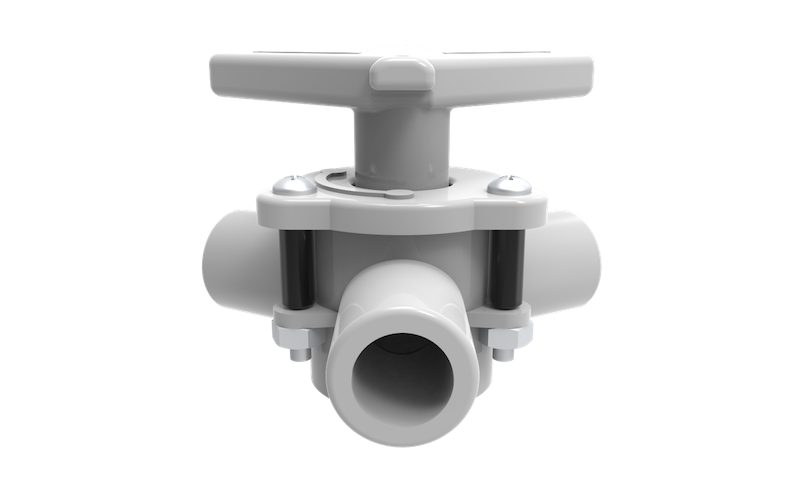
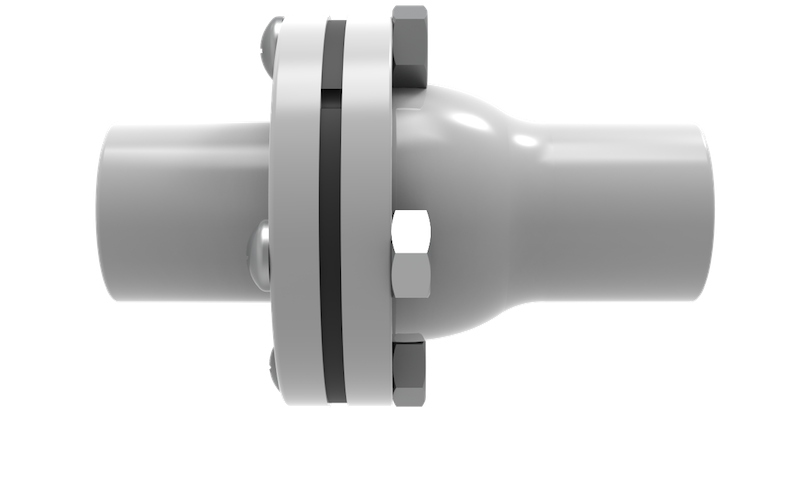
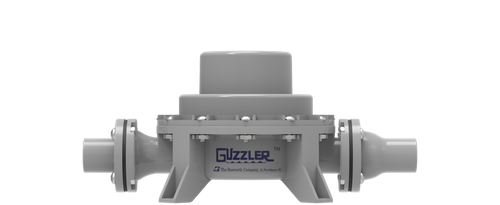
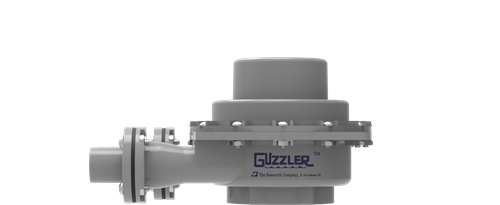
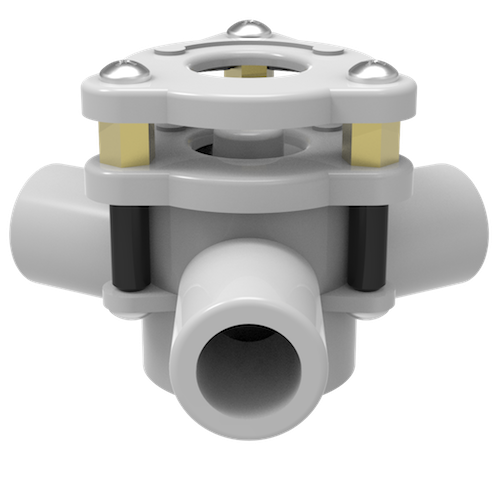
Bosworth also offers a special "slot-activated" flush-mount diverter valve for use in portable toilet plumbing. This diverter valve is installed below a floor or behind a wall and is operated by inserting a screwdriver into a recessed slot for a low-profile, space-saving installation.
See Portable Sanitation Products Catalog to download a catalog of these products.

Have a Guzzler® video to share? Send us your product video and we’ll post it on this web page!
Just email us a Youtube or Vimeo link or the actual video to Videos@thebosworthco.com
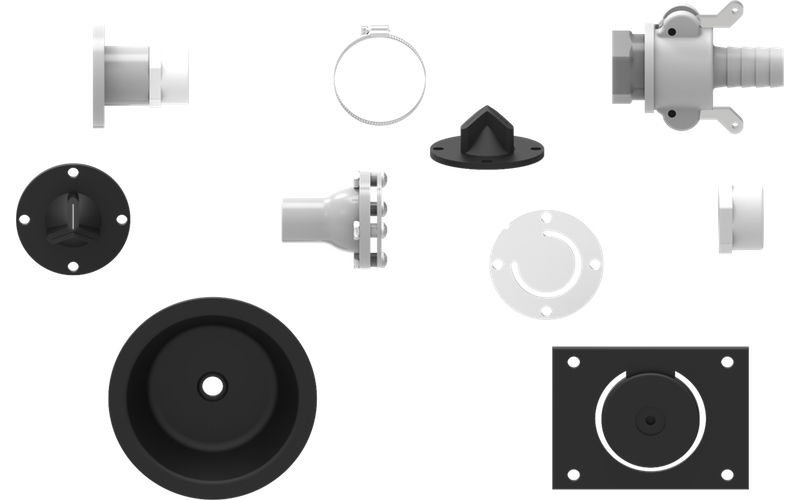
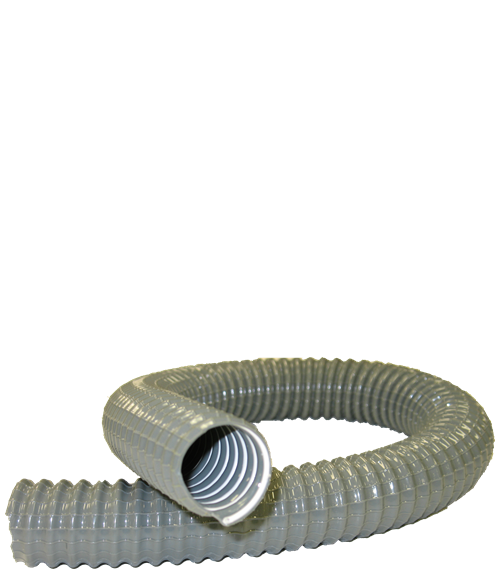
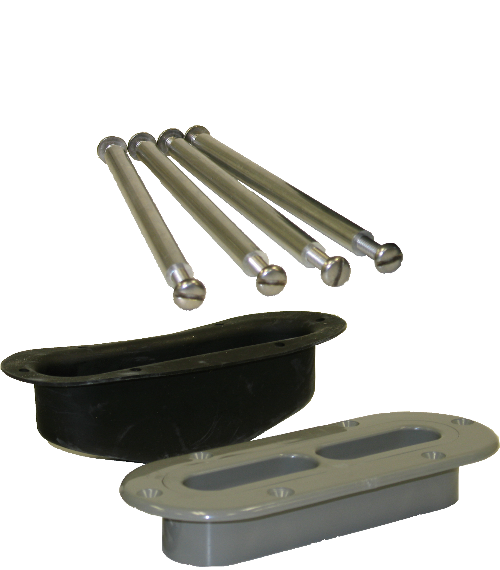
Different hose flanges available with Guzzler pumps
Installation instructions for Guzzler hand pumps
Installation instructions for flush-mount Guzzler hand pumps
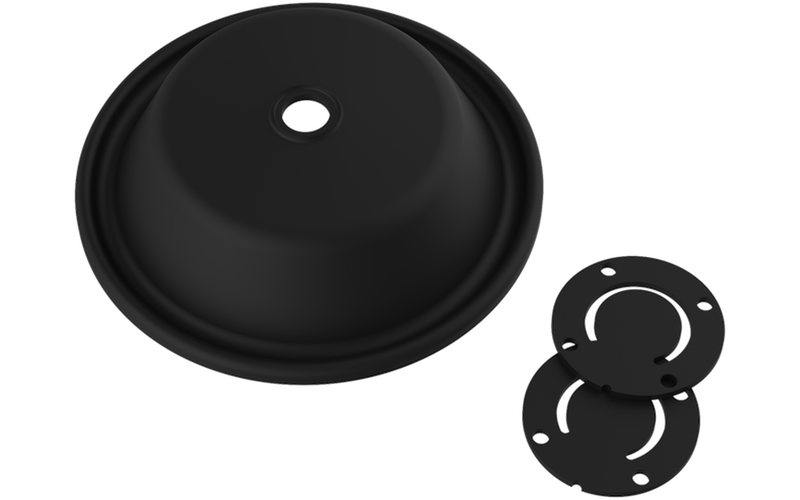
Replacing the diaphragm in Guzzler "400" and "500" hand pumps